
Talk to the kid looking at the clouds in the first area.

After talking to the cloud kid, look on the floor where there are some shadows, use your camera then point upwards – use focus on the clouds then it will take a different form, then take picture of it. While there are total 3 clouds to take photo of, you only need to show 2 photos to complete the quest.
You can find other clouds in area with the tall guy, and the another one in the area with the climbing challenge.
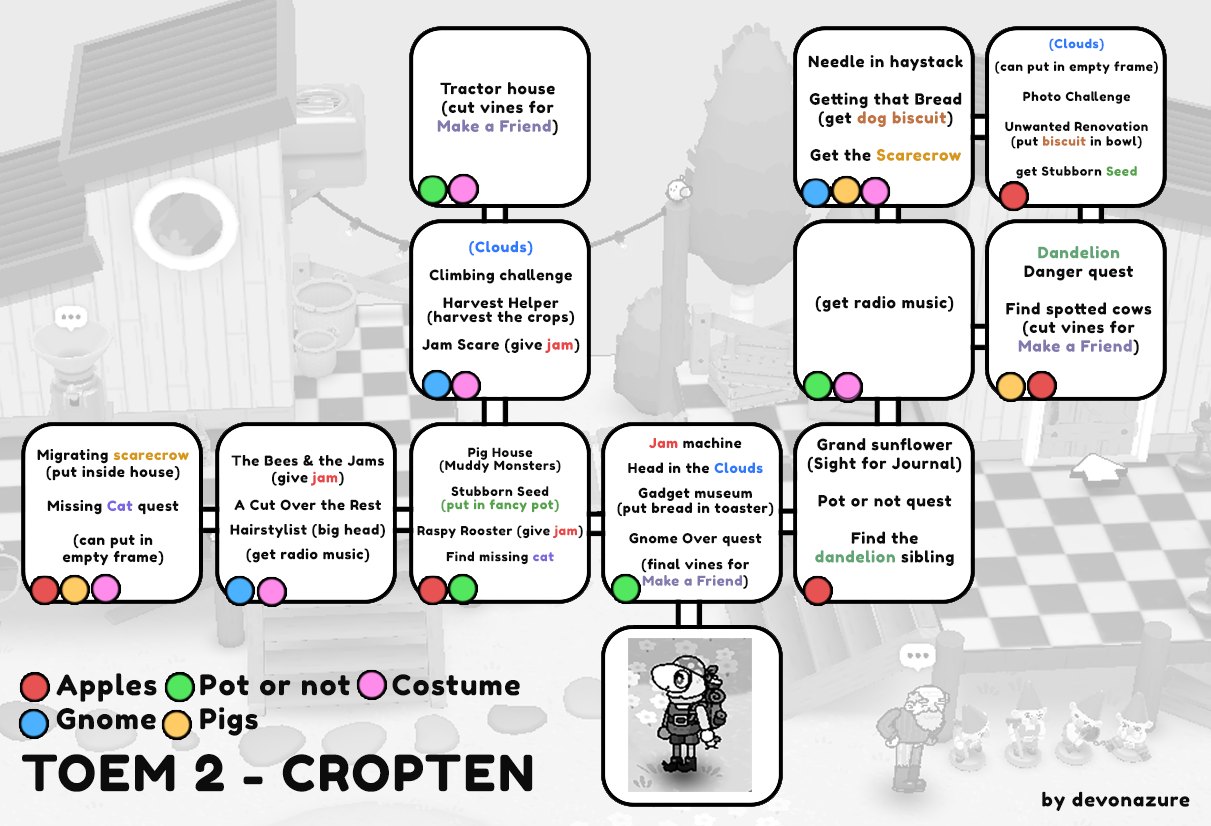
Aim your camera to the trees and use the scissors to make the fruits drop, then collect them. Use it in the machine in the first area to produce jam. Each tree drops 3 apples and each jam needs 5 apples. You can refer to the red dots on the image I put for where to find the apples.
The jam will be used for other quests:
Jam scare: You accidentally scared this poor bear, now we got to give a new jam to enjoy.
The bees and the jams: Talk to the beekeper, then put it on the tool thingy near the bees.
Raspy rooster: Talk to the guy near the chickens and he will ask you for a jam for the rooster.
The jam machine will tell you once it’s no longer able to make any more, which means you already made all the jams you need for your quests.
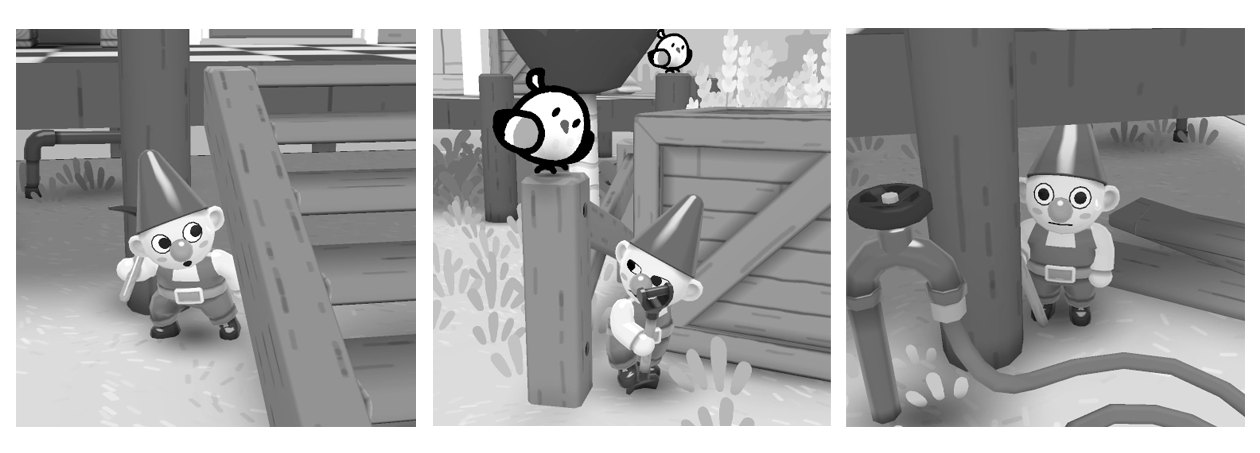
Talk to the grandpa in the first area, then take pictures of the missing gnomes in other areas.
Look for the area with:
- the bread house
- the area with the climbing challenge
- the area with the bees
I’ve marked it on the map, basically they are located on ground level under the wooden raised floor or the fence.
Look for items that can ‘be used as a pot’. Take a picture then show it to the quest giver inside the house with the flower. There is the cooking pot, mug, boot, and can.
Where you can find them, look for the items on the ground:
1) can in first area with the jam machine
2) mug in the area with the pig house & rooster
3) cooking pot in the area with the radio music and gift box hung up with a rope
4) boot in the tractor area
In the same house you got the pot quest, on the corner you can find the other flower sibling. Take a pic to show the other flowers that it’s doing okay!
Go inside the Bread shop and talk to the bread to unlock access inside the windmill. Climb up around the vines and use the scissors to make it work again.
Don’t miss out the gift box at the top of the stairs, and the dog biscuit on the tray next to the door!
Note: Put the bread in the toaster in the gadgets room to get an achievement.
Pick up the scarecrow in the bread house area. Go in the empty house on the leftmost side of the map and place the scarecrow there.
You can even decorate the frame on the back left with a photo to celebrate the scarecrow’s new home!
The quest appears directly in your journal when you enter the area. Just take a picture of the needle in the haystack in front of the bread house.
Go up the house so you can talk to the tall guy, then you will get the fancy seed.
Bring the fancy seed to the roosters & pig house area, find a fancy pot in the greenhouse then put the seed in there.
Take a picture of the now sparkling fancy pot then show it back to the tall guy.
(The fancy pot is too fancy for the Pot or Not quest so it won’t count there.)
Get the Dog Biscuit from the bread house, it’s on the tray next to the door.
Go up the top of the house, then interact with the dog bowl to put the biscuit. It will make the dog stop going around, then talk to the rabbit inside the house.
Talk to the big head near the bees area and use your scissors. Keep cutting to switch through between hairstyles.
Pick any hair style you like then confirm it. You can’t change it after, so pick the best style!
Enter the pigs’ house in the same area with the chickens and the greenhouse. Talk to the pig mom to get some soaps, then find the piglets to clean them.
They will first appear as black blobs and can’t be identified with the camera, but once it’s clean you can take a photo of it for your compendium. Talk to the pig mom once you’re done with all the three piglets.
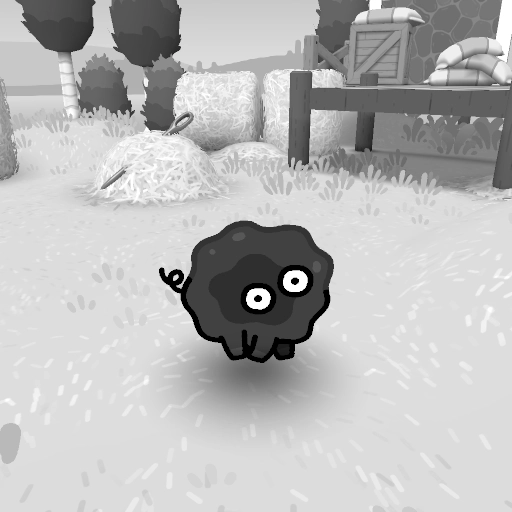
Where to find the piglets:
1) In the area with the empty house and the guy giving the missing cat quest
2) In the cows and dandelion siblings area
3) In the bread house area
Go into the house with the clothing icon. Talk to the lady and you will start the minigame where you have to cut 10 pieces of clothing that she throws using your scissors tool. Aim your camera then interact to the fabric before it falls. There is no time limit so you can do it at your own pace even if you miss some.
You will get a costume (overalls) from her, but also check out the gift box in the corner of the room inside the house to find another one (bandana).
Find the pot near the stairs in front of the pigs’ house.
Use your camera then focus on the pot, then it will show a cat. Show the cat picture to the grandpa looking for it, he is at the leftmost side map of the region.
Find the other vines in the whole map region and cut the spores using the scissors when aiming with your camera. The vines will appear in the tractor area, the cows area, the windmill, then back in the main first area.
You will become friends with Pearl the worm at the end of the quest.
Interact with the plants to harvest the crops. After getting all the crops, talk to the sleeping farmer.
Talk to the goat head guy to start the challenge. All you need to do is to jump and climb all the way to the top to reach the flag, it will be in the same map location you find the challenge, so you don’t need to look for it further. There will be similar challenges like this in the next maps.
This one stumped me for awhile haha, I thought they meant the rooster but zoomed in but it didn’t work when I submit it, so I went looking around the map looking for where is the giant chicken?? The hint is that question mark means it is not an actual chicken lol.
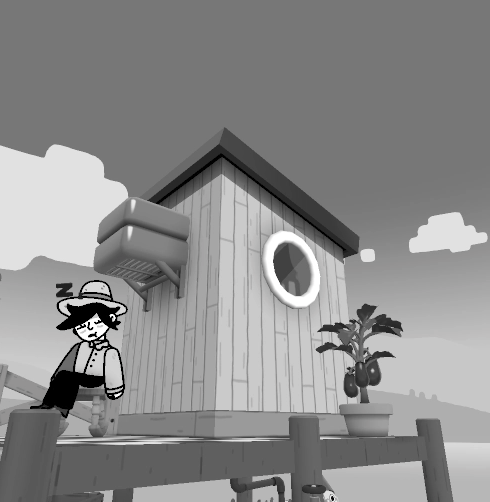
Take a look at the house shapes around the map that may represent what you’re looking for. Spin around the angle to make use of the window and the fan thing to look like eye and beak of a chicken. I think you can use any house in the map that looks like that.
Sharing this because I got stuck here for quite a long while, but here is this hahaha (I kept insisting to try to jump from the fence then to the farmer to the fan, which uh of course did not work lol)
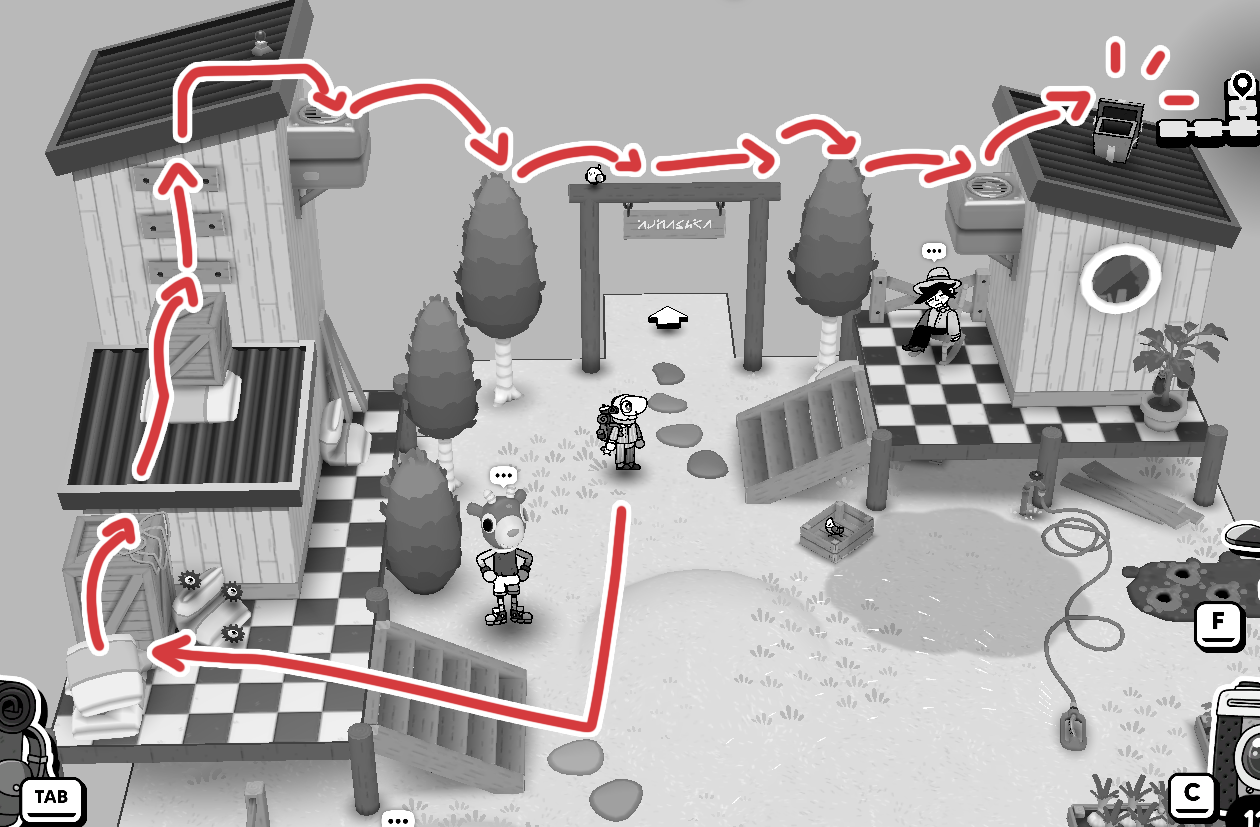
Go up the left building then jump to the tree, then on the gate, then to the tree and finally to the fan to reach the other building with the gift box.
Hop mask costume – In the tractor area, go behind the house. Instead of a gift box, there is a piece of tree stump. Interact with it to get the mask.
Make toast – Put the bread you got from ‘Getting that bread’ quest in the toaster in the gadget house.
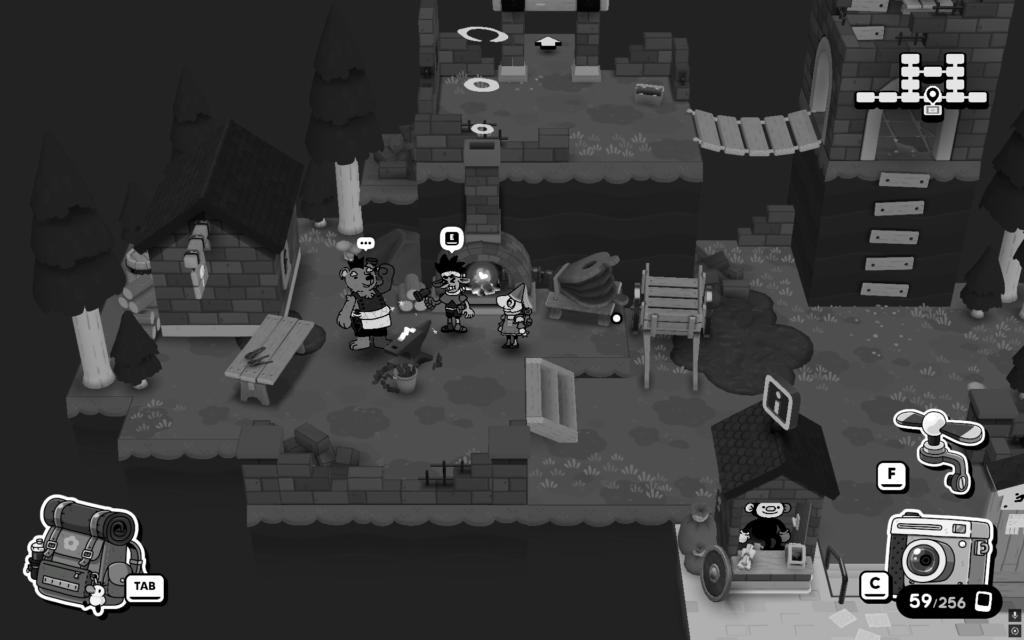
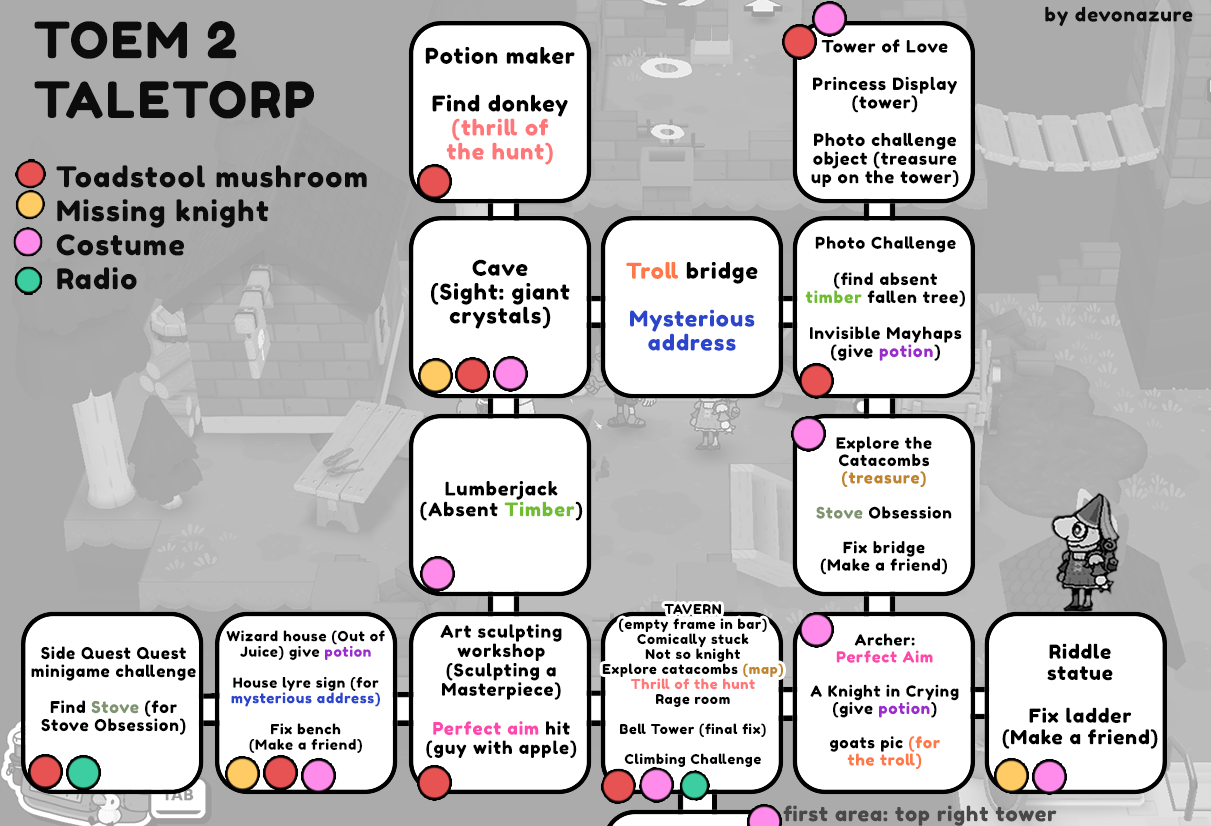
Help Gob fix different areas in the region using the hammer tool. Aim your camera at the nails, then use the tool by knocking it following the dot pattern shown on the nail: the longer dot means you have to hold the button.
You will fix the first area bridge (just try to go through the bridge and it will fall down, triggering the first fix dialog), another bridge to the catacomb, the bench near the wizard & empty house, the ladder to the riddle statue, and finally the bell tower in the main first area.
You will be friends with Gob and he will be finally working as an apprentince.
Talk to the lumberjack and he’ll ask for the missing tree he just chopped down.
The tree is located in the photo challenge area, the fallen tree exactly next to the photo challenge sign.
Take a picture of the fallen tree and show it to the lumberjack.
Inside the tavern: up on the stairs there will be someone with their head stuck in a pot. Use your camera to break the pot with your hammer.
Whenever you come back later the same character will have their head stuck in a pot once more. Breaking it again does not give extra rewards, so it’s up to you to ignore it or help again.
In the tavern second floor, in the leftmost room there is a map on the wall. Talk to the guy and check the map. You can take picture of it, or refer here.
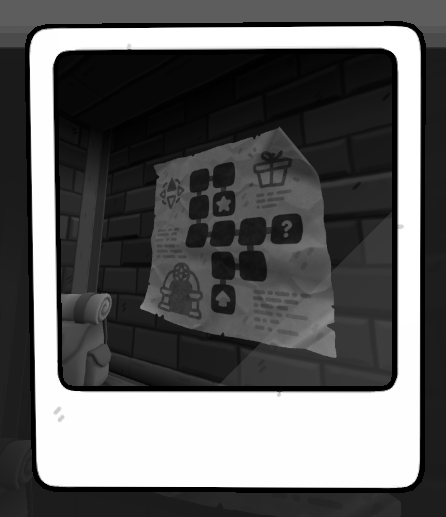
The map refers to the area inside the dungeon. The star refers to the treasure, while the ‘?’ is for gift box costume. Follow the directions so you will not get thrown back to the start.
Get the treasure then go to the shortcut back to the starting point, talk to the son in the catacomb to give the treasure (though I wish we can keep it, haha).
Put up the princess costume! (Use both the hat and the dress). Take a picture of yourself then show it to the mirror. Your picture will now be framed – now you are the princess!
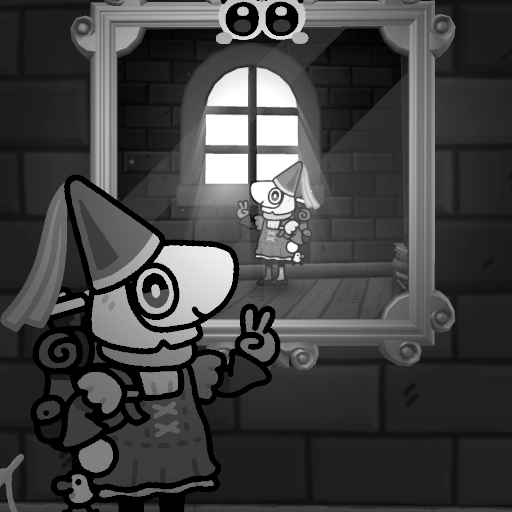
You can find the princess costume in the tavern roof: go to the second floor and enter the rightmost room, then enter the window to go outside, then go around the roof to find the gift box.
When you go around the map, grab the toadstool mushroom (the dotted bigger one, not the small ones), they will be used for making potions with the potion maker. 5 toadstools will make 1 potion, and you can make 3 potions for these quests.
A Knight in Crying Armor:
Find the crying knight near the goats and the archery area. The knight will give you the potion order to get him some medicine.
Go to the potion maker to make the healing potion, then give it back to the knight.
Invisible Mayhaps
Find the fairy ring (the small mushrooms forming a circle) on the top right of the area and you will notice you are unable to enter the ring shape on the ground. Use your camera there and you will find a person! That poor guy has turned invisible.
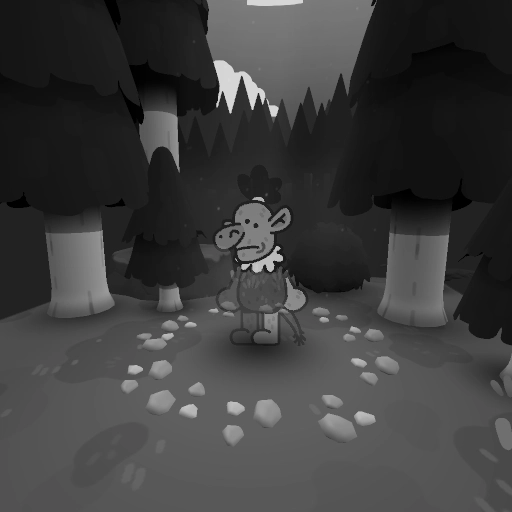
Get the potion order to the potion maker, then bring back the visibility potion to save him.
Out of Juice:
Talk to the wizard in the right house in the area with two houses. The wizard will give you a potion order to recharge his mana.
Bring the order to the potion maker and bring back the potion.
The potion maker will then tell you there are no more potions to be made, a sign that you are done with all quests related to potions.
Talk to the mailman on the bridge and he will show you the lyre sign.
Go to the area with two houses on the bottom left side of the region, then take a picture of the house with the same sign. Show it to the mailman.
Note: You can go back to the house to read the letter and it’s an interesting little story you can piece together about the frog and a specific item in the house! (Use your camera on that item to trigger a spooky effect – it does not give achievement but sure is interesting!)
The troll is actually a wholesome fella who wants to see some cute goats.
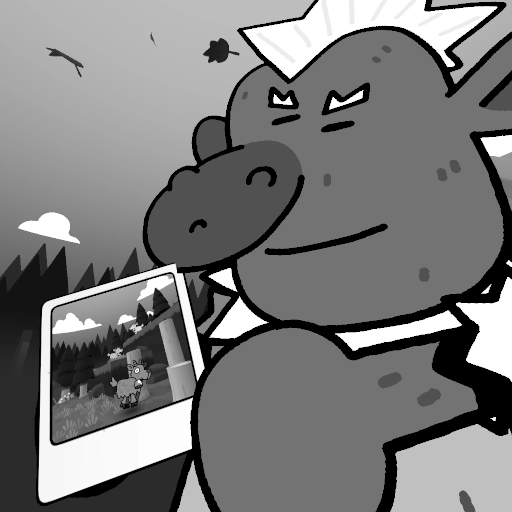
Take one picture containing THREE goats – find it near the crying knight in the archery area, then show the picture.
Talk to the singing guy, then go up the tower to check out what the princess is like. (While going up, might as well take photo of the sparkling nest for the photo challenge, and talk to the mirror to get the Princess display quest). You can later get a teleport point to go up and down the tower so no need to jump all around again.
After going up the tower and finding no one is there, go back to the singing guy.
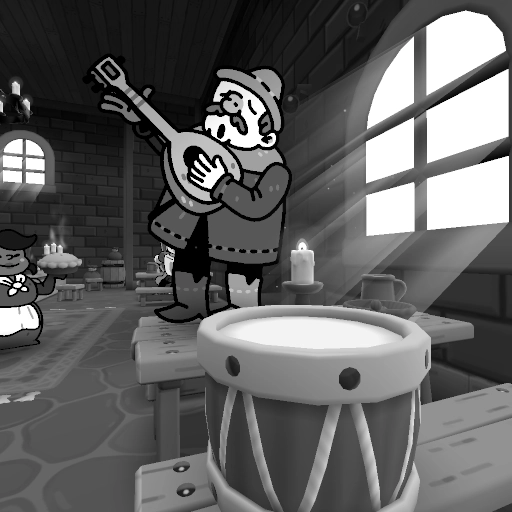
After the quest, go to the tavern and now you will find he is now performing there – join in the fun by using your hammer to hit on the drums, it will give you an achievement!
Talk to the guy on the right side near the house with a horseshoe sign on it. He will ask you to find his donkey.
The donkey is at the top left area near the potion maker, chilling above on the hill. Take a picture then bring it back to show it to the guy.
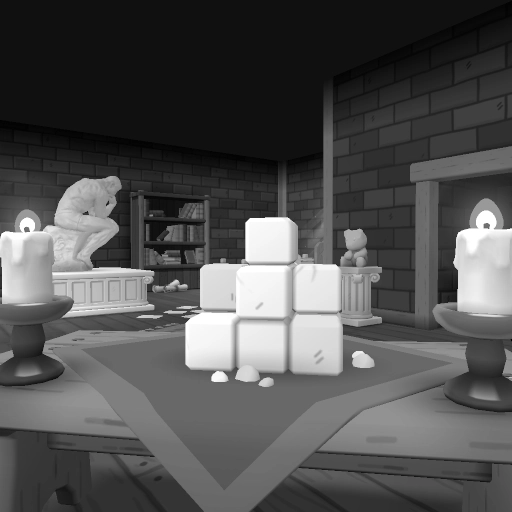
Talk to the artist inside the workshop. He will ask you to replicate the sculpture on the table. Aim your camera to the box then hit it to break the box, shaping it to match the sample.
If you make a mistake, interact with the button in the middle of the room near the wall, but then it will reset and you have to do it from beginning – so take your time carefully!
Personally what I do is to copy it by each side (for example, the first side looks like the letter ‘T’ or a letter ‘L’, so focus on that first), then go around in order to work on each outer side facing you.
Go to the bottom left most of the region, then talk to the NPC to start a minigame. Use your hammer to bonk the moving targets. There is no time limit, so take it easy and keep bonking them until the target is reached and game is done.
While you’re there, take a picture of the stove on the left side (or whatever remains of it) for the caged guy in the catacombs, and get the radio music right side to the minigame NPC.
Inside the catacomb dungeon, talk to the guy inside the cage. He will ask you to show if his stove is on or off (bro got priorities alright) and show the ‘address’ with a symbol.
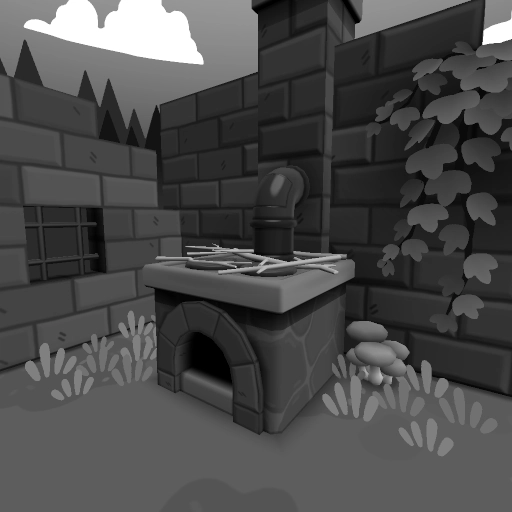
Find the matching house (bottom left most area) then take a picture of the stove, and show it.
Talk to the archer and he will shoot an arrow up to the sky, asking you to find out where it lands.
The arrow will hit the apple on the guy’s head near the sculpting workshop, two maps to the left from there. Take a picture then bring it back to the archer.
Talk to the commander knight by the board with wanted (for excellence) posters inside the tavern.
Find the knights around then talk to them so they will go back to the tavern. Finish the quest by talking to the commander again after finding the three missing knights.
Where to find the knights:
- Inside the crystal cave, go left from the entrance and break the wall with hammer to find the knight behind.
- In the statue riddle area, hiding at the top area near the tree and ruins.
- In the wizard house area, at bottom left near the barrels.
Climb up the princess tower by jumping around it, then you will see a sparkling nest near the top. Take a picture of it and show it to the photo challenger.
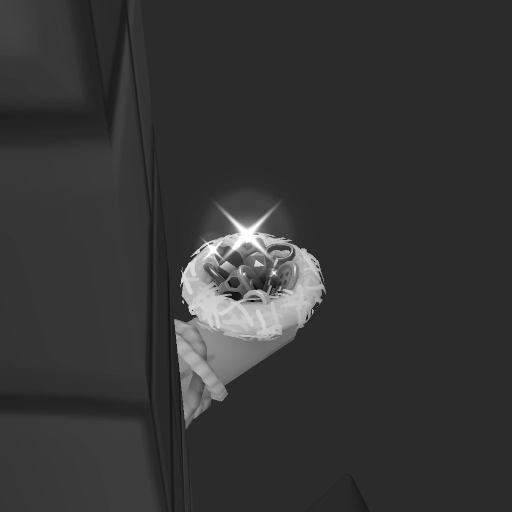
Talk to the goat head guy in the first area. Go up the roof of the tavern to reach the goal.
You can get there from going in the tavern, then enter the right room on second floor and go out the windows. Go up the roof then climb up higher to get the goal. Don’t forget to get the gift box while you’re on the way, you’ll need it for the princess display quest!
Guide for Costumes (the trickier ones to find):
Mushroom hood costume: This one is easy to miss. Inside the crystal cavern, near the giant crystals, go to the left and find a place you can jump over to find a hidden path to a gift box.
Starwalt helm: Outside the cave area, go up and jump across to find a shovel on the top left of the area. Bonk it with your hammer. I thought it’ll be some kind of excalibur weapon hahah, but hey you got a new costume!
Archaelogist attire: Near the right side of the lumberjack, there is a shining area under the hills. Use your hammer to bonk it and you will get a new outfit.
Jester hat: After helping Gob fix the ladder, interact with the gargoyle statue then answer its riddles – the answers are blacksmith, toadstool, and tavern.
Knight helmet: In the catacombs, from the entrance area with the caged guy, go to the left instead of entering the maze. Inside the room, bonk the rocks with your hammer to make path for the moving knight statue. Interact with the dice to roll it, which will make the statue move. Keep doing it until the statue arrives at the end of the path to unlock the gift box.
Photo frame: Inside the tavern on the wall near the bar on the right (rotate the camera as you might miss it), there’s an empty frame you can use. You only need 5 photo frames to get achievement.
Join a band: Hit the drum with your hammer next the singing guy. He will only appear in the tavern once you complete Tower of Love quest.
Rage room: Break every pot in the middle room on the second floor of the tavern. You can easily reach almost all of them by jumping to the top middle of the room, then go around the stack to clear up the rest on the ground.
Radio music: There are two inside the tavern: inside the rage room (middle room on second floor), and inside the so-called spooky room behind the bar (the one with the ghost). The other radio is near the side quest quest bonking minigame.
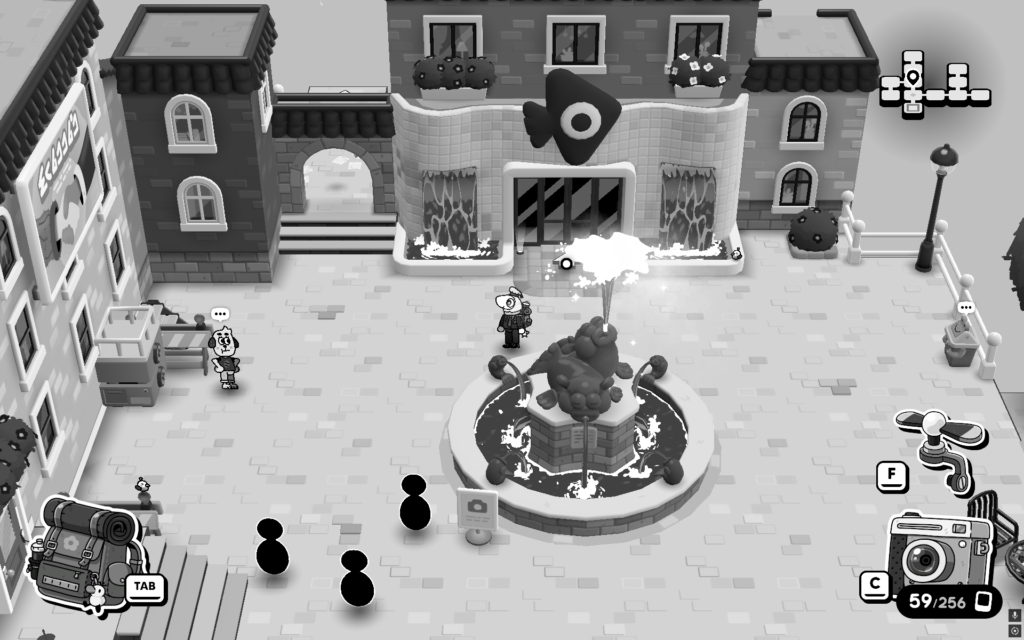

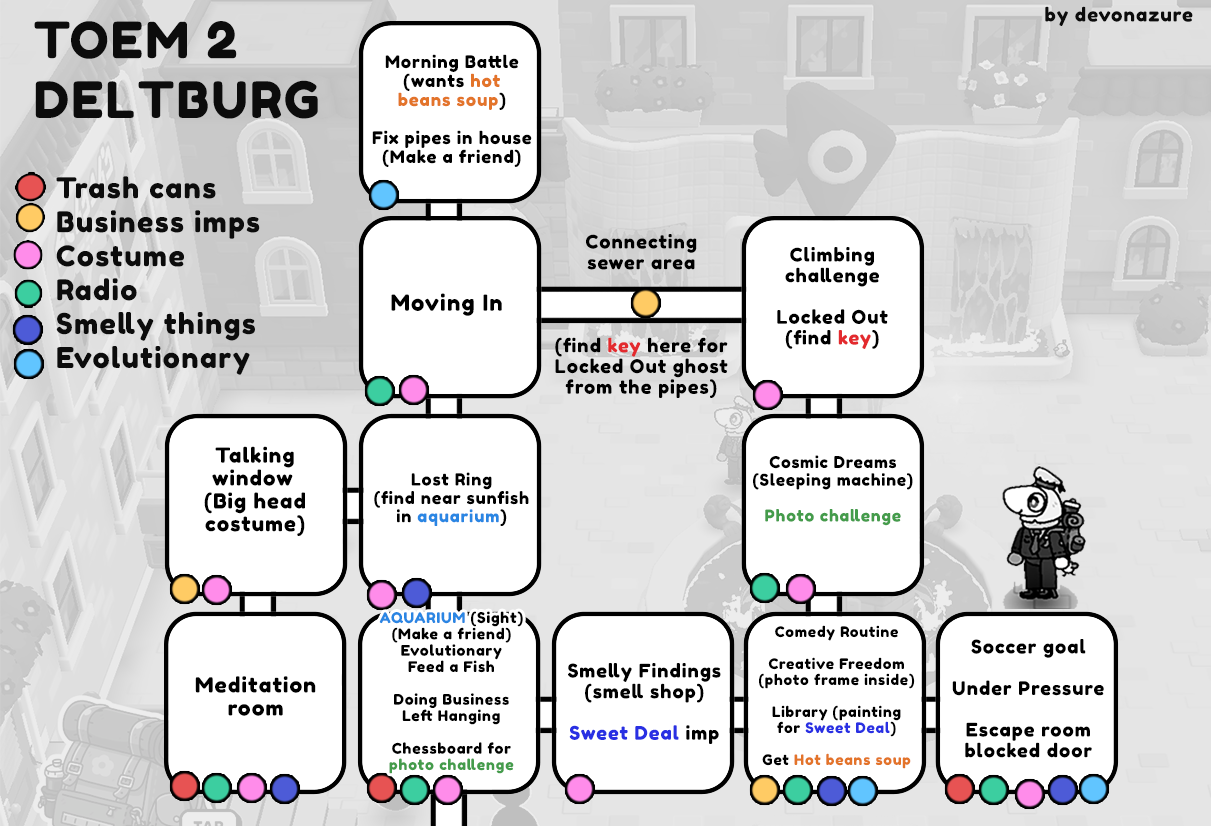
Go around and help the plumber fix pipes with the screwdriver you got.
Note: select the pipe then turn it – make the arrow point TOWARDS where you want the clog to move its flow to (so we point it to the pipe exit to the plumber). Check the tiny arrow icon!
You will fix the pipes in:
1) the backroom of the aquarium
2) inside the house with the grandma (top left most map, the door below, not the one at the top of the building)
3) and finally the underground room in the first area to fix the water fountain.
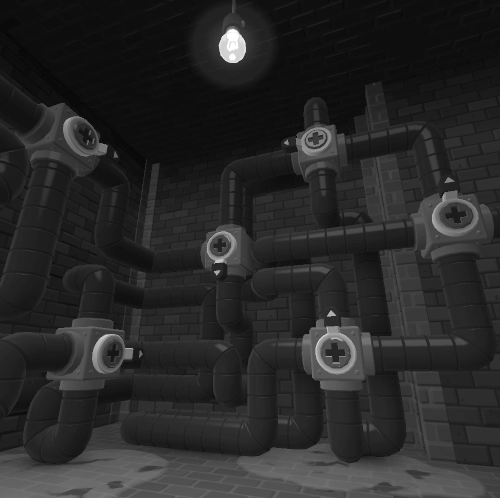
I think the puzzle can be solved multiple ways depending where the clog is flowing at, so I will just be sharing a photo of the last one I did. Personally I think this is the most challenging puzzle of the game since I’m not really good at this kind of 3D puzzle, hahaha.
In the first area, talk to the character on the left carrying a giant sign for the business building.
Use the screwdriver to adjust the two screws – one for horizontal and other for vertical position of the sign. It will be kind of wobbly – take a picture when the sign is in the position you want.
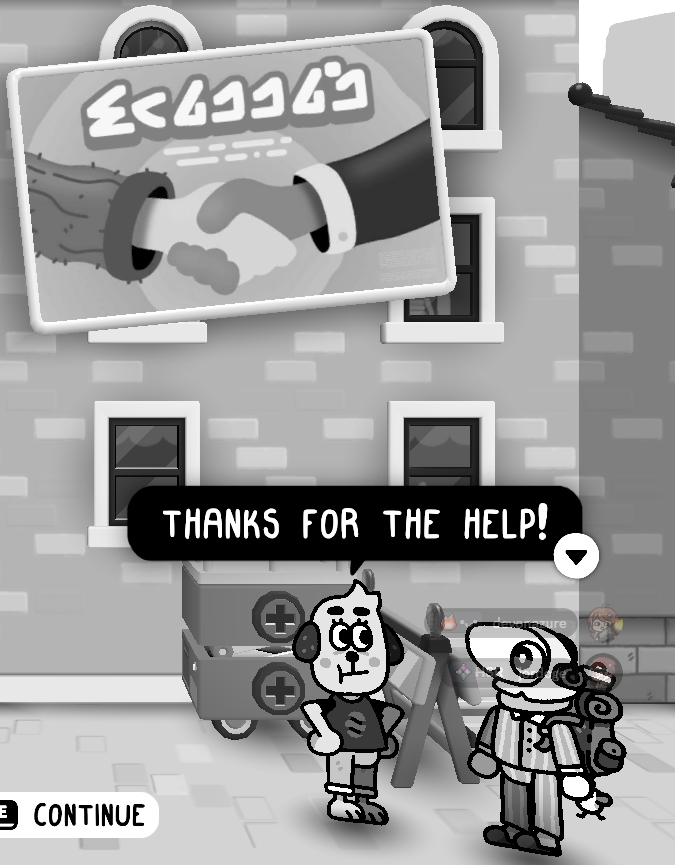
Note that the sign will follow your photo, so uh, if it’s kind of tilted like this, it will look exactly like that. Oops!
Wear your suits costume, then talk to the fellow creatures in suits to strike a deal! Here’s where to find them:
- In the sewer area (underground connecting the area with the moving in lady and the climbing challenge one). This is also where you can fix the pipes to get lost keys for the ghost quest.
- Across the bridge in front of the library, at the back of the photo studio.
In the aquarium, after going in the entrance go to the right area – on the second floor, there’s a machine that you can interact to feed fish.
Get the food from the room on the bottom right from there. The fish food is on the rack on the wall, inside the room with lots of boxes.
Going back out to the fish machine, you need to fix the pipes around to make the machine work and deliver the food successfully to the fish. Follow the pipe and check the directions of each section.
Enter the aquarium and go to the left room, then talk to the scientist. Find 3 critters that seem to be ‘evolution line’ (think like Pokemon maybe haha) – hint: they are NOT in the aquarium!
Go outside and find three related critters. The hint: find ones with something in common, perhaps… they’re all in the water, and perhaps.. they’re all singing?
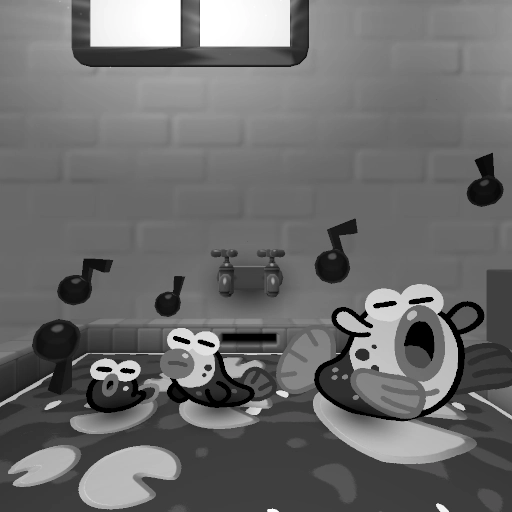
Here is where to find them, look in the water on the lily pad leaf:
- Pollypran: Top left most area, the one with the sleepy guy who wants hot bean slurp
- Larvalto: The studio, comedy club, and library area
- Adulbass: The soccer area
Put the pictures in order from left to right:
Pollypran > Larvalto > Adulbass
Enter the building with the nose icon, and talk to the smelly shop owner. Go around and find smelly things to show to him!
- Trash bags on the side of the comedy club door
- Shoes hanging up
- Food left over by the birds
- Garlic food being eaten
- Cheese inside the library
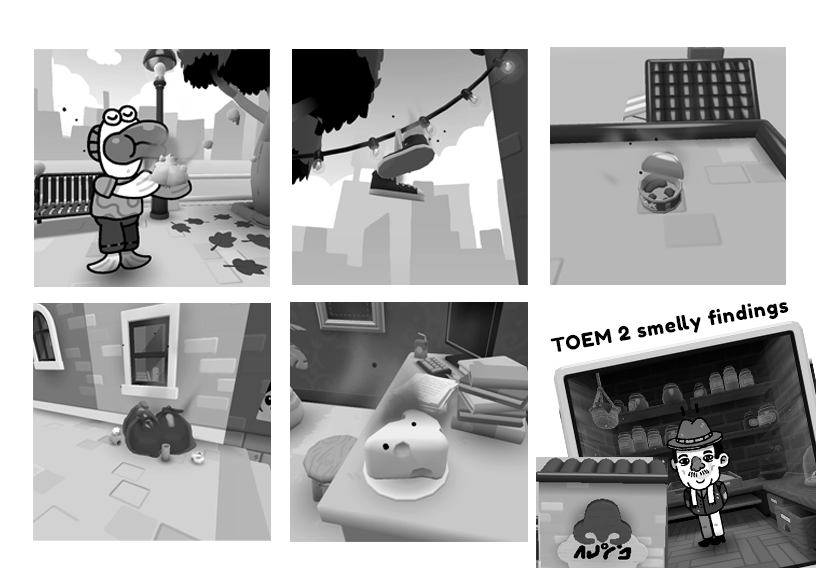
A quite… smelly selection of items, alright. The items will disappear after you submit them, taken by the smell shop owner. I have questions, but I don’t want to question what is happening with the shop.
You can find an imp with white business suit behind the smell shop – this one is not part of the doing business quest so you can approach it without the business suit on.
Go to the library then take a picture of the guarded painting on the wall, then show the picture to complete the quest. I was worried I have to do something special not to caution the security, but turns out just take photo normally!
Note: While you’re at the library, read all the books to get the Scholar achievement – it’s a nice callback reference to the first TOEM!
Talk to the creature with the dress and the hat, and she’ll say she lost her ring – she’ll say it was a place with penguins and fishes…
Now we know that means the aquarium, but where…? This got me stuck for awhile since I was uh, looking in buckets, boxes, and lockers (which I found a dancing bug critter inside, by the way!) – but I could not find it.
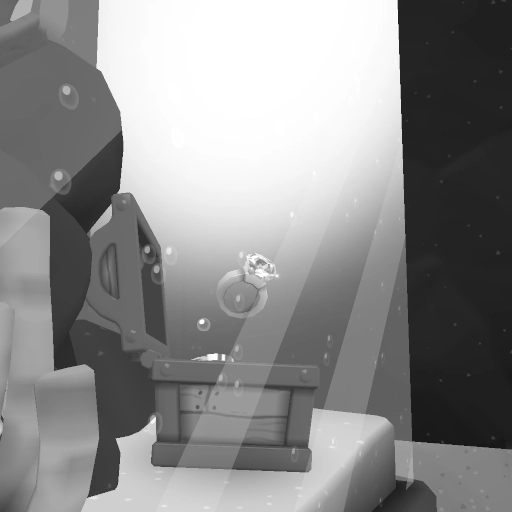
So to do it, go to the aquarium and go straight up to the area with the sunfish. Aim your camera to the treasure chest on its right. When it opens up, it will show the ring – take a photo! How did it even get there, I wonder…
Help the lady decorate the house, talk to her and you’ll get a box of items. Interact with the given slots (looks like small circle on the table, cabinet, etc) to put each of the items and put out all items given anywhere you like in the house, then talk to the lady to complete the quest.
It does not seem to matter how you place it, and you can redecorate to move it around after that if you wish by talking to her again.
Talk to the sleepy guy on the building up on top most area of the map. The hot bean slurp he wants is on the other side of the map, on the right bottom side in the area with the studio and the library.
Go around the camera studio building, climb up to go to the drink stand at the top of the library building (the one with seats and umbrella). Use the balloons to get across. Deliver the hot bean slurp to the sleepy guy.
NOTE: DO NOT fall from tall heights. This will make you will drop the drink and have to get it all over again. They mean it when they said ‘careful not to drop it!’ – I learned it the hard way when I almost reached the guy to deliver it 🙁 Although somehow, falling in to the water did not ruin the drink for me, haha.
You can go jump down on the side with Tato Balloon then down the library building – that one is safe!
Talk to the ghost near the manhole cover in the Climbing challenge area. There’s a door under that building that leads to an area with the pipes you can fix. Use the screwdriver to unclog the pipe and get the key, then give it to the ghost.
In the underground sewer area, you can also find one of the business imps for the Doing Business quest.
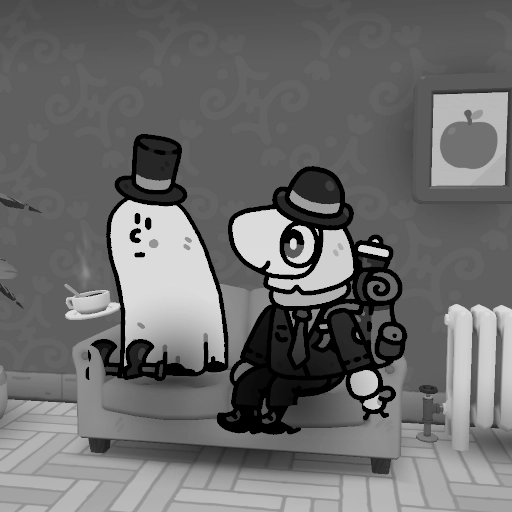
Note: After this quest, you can go into its house nearby (which was previously, well, locked so you could not enter) – then find a gift box containing the Top Hat costume!
In the scientist house (marked with ‘sleep machine’ on my map), talk to the scientist, then take a seat on the sofa to interact with the ‘sleep machine’, then you’ll be teleported to another area.
Inside the dream area, jump around to get the book to get the formula. Take a picture of the formula after reading it! (I made a mistake that somehow, I thought my character can just ‘remember’ the formula then ‘tell’ it to the professor, lol)
You can also go further to the top corner to get the Piku mask.
Go inside the photo studio (the building with a big camera sign).
Take the prop items like rocket balloon, the ball etc., then place it on the item circular slots on the backdrop. Interact with the scroll button on the right side of the backdrop to change the background. Put the camera on the tripod then take a picture – remember to change pose so it counts for the quest!
Put up photos on the two frames at the wall and another on the wall on the side from the door – these can help you towards the frame achievement!
Go to the comedy club building near the studio and library.
Talk to the robot and it’ll ask for a picture of a bicycle.
For an easy find, you can go to one area north up to find some bikes to take photo of, or use any picture with a bike you found before.
Near the soccer field, climb up the wall to talk to the NPC that got sprayed by water from the pipes on the balcony.
Follow the pipes and use the camera to use screwdriver to turn off the water flow (just turn it all the way to one side) – there are total 3 sections to fix.
They say ‘you can turn it on now’ after the quest which, uh, you can get the water to spray on the poor fella again, but sadly there is no unlocked achievement for it haha.
Note: while you are there, kick the soccer ball to the goal, and you can get an achievement.
Talk to the goat head person in the same area with the ghost losing its key to the sewers.
Go up the building and around the stairs and pipes to find the flag. You can also get the flag first then talk to the challenger and it’ll still count as done.
Note: The top of the building is also a good place to take a BIG fall from great heights to get one of the achievements – Great Fall.
You will get a costume for completing all climbing challenges in the game. If you’ve done all in previous regions, this will be the final one.
Get the photo challenge from the girl with camera in the sleep machine building area, she will ask for three feathered chess masters.
You can find the chessboard in the main area with the aquarium, but do not just stand there with a camera and wait for things to happen (I tried and felt this is not working after awhile haha) – so, go chase the birds around away so they’ll fly to the chessboard!
The small birds are near the aquarium, the entrance stairway, and near the business building. Once all the birds arrive at the chessboard, take a picture from afar with zoom not to chase them away if you got too close.
You will get a costume for completing all photo challenges in the game. If you’ve done all in previous regions, this will be the final one.
When you see a trash can (like out on the streets or inside the aquarium), interact with the plastic bottles near it to throw the trash – the trash can will be happy for you helping out!
When you do all trash cans, you’ll get achievement. There will be around 4 trash bins:
- In the first area in front of the aquarium
- Inside the aquarium, in the sunfish area (where you can find the Lost Ring)
- Near the ladder going up to the Meditation room
- Behind the building in the soccer area, where you can find the blocked door with escape room inside.
Big Head Mask – Go up the buildings and talk to the window (in ‘talking window’ area marked on my map, then you’ll be given this funny big head!
NOTE: Equip it at least once to get Big Head Mode achievement.
Bowler cat –
For the following costumes will contribute to the ‘A Combined Effort’ achievement to get items related to other games. I think the other one that is included is Hop Mask from Cropten.
Bing Bong Mask – From the main area with the fountains, go up the building with the sign to get the suitcase.
Use the wooden slope near the bike to jump on the window to reach the stairs behind the building, then use the balloon to get to the other side then to the PEAK – I mean, to the top, you get it. Open the suitcase on top of the building to get the mask.
Pop cap hat – On top of the building near the Photo challenge girl. Jump on the window canopy to get up the roof.
Piku mask can be found in the top corner of the dream machine map.
There is a door that you can’t enter normally as it is boarded and covered. You have to use your screwdriver to remove it by yourself to enter! There will be some escape room-like puzzle inside.
- Sit on the sofa chair to trigger a scroll falling from the bookshelf. Check the scroll image to see some scattered numbers.
- Step on the darker colored tiles on the floor following the position order. The cabinet will be open.
- Use your screwdriver in it to get a lightbulb.
- Put the lightbulb on the small table next to the sofa.
- Aim your camera at the owl on the top right side wall. Focus on it and take a photo of the key shown.
- Put photo of the key in the empty frame on the right wall with cables connected to the door.
The door will open and you can get your costume prize, Bowler Hat! Don’t forget to also get the radio music in the room.
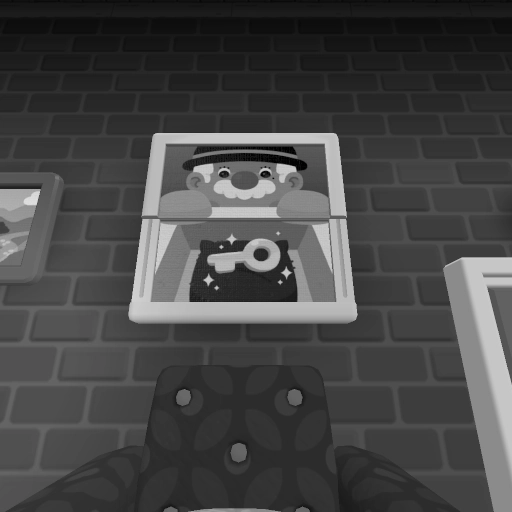
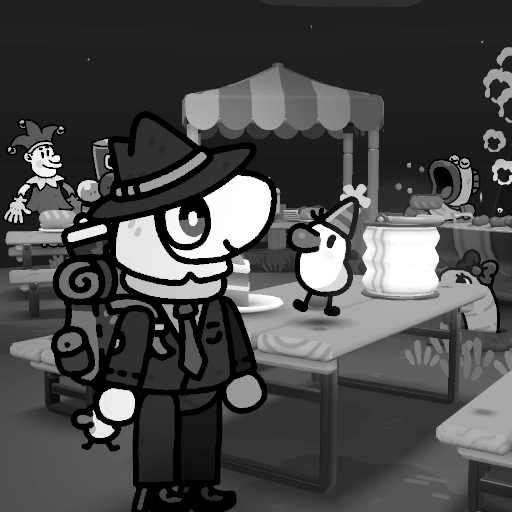
The endgame location only has one specific main quest – experience TOEM! This will trigger the ending sequence for the game, so make sure to talk to other characters and take pictures with them as you like first.
Critter find: There’s only one new critter here – take a picture of party Tato on the table with the cake! It is located on the left side of map near the interviewer.
Sight: TOEM experience itself with the tree will count as the Sight photo.
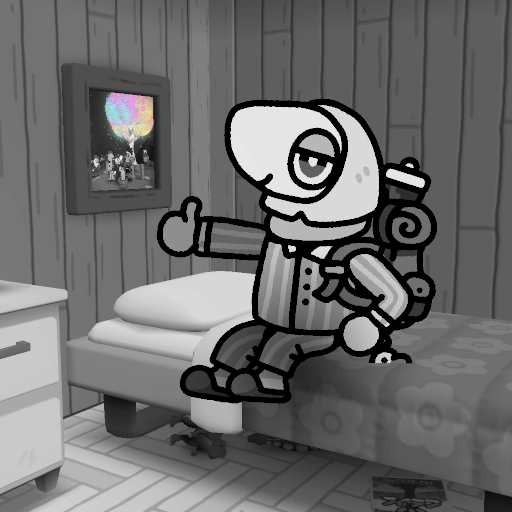
After the tree blooms, talk to the friends you made along the journey to get them on the stage (Pearl the gardener worm, Gob the blacksmith, and Plum the plumber).
This photo will later show on multiple frames across the regions, so time to take a good group photo!
Go up to the tree and use the camera on the single leaf on it, then focus on that leaf, then enjoy the cutscenes! Congrats for completing TOEM 2!
Return to Nana back at Homelanda, and she will display the TOEM Sight picture on the frame – this one cannot be changed so take a good picture!

